Learn how to crochet the Ribbon Candy Crochet Stitch also known as the Kenitra Stitch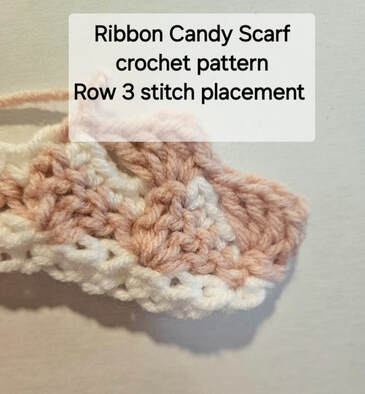 Video Tutorial Below  Brick Stitch Blanket Brick Stitch Blanket For YEARS, I enjoyed making blankets with the Brick Stitch. It's the stitch that is used in C2C crochet patterns but I used it in basic rows for blankets. It's just a fun little mindless stitch that you can work without paying much attention to what you're doing (with the exception of color work in C2C). It's the main crochet stitch I used for my Diamond Christmas Tree Skirt pattern and some of my infant / toddler dresses. THEN, I found the Kenitra crochet stitch in my Crochet Stitches Visual Encyclopedia by Robyn Chachula. It's one of my favorite crochet stitch books!
0 Comments
Learn how to crochet the Rope crochet stitch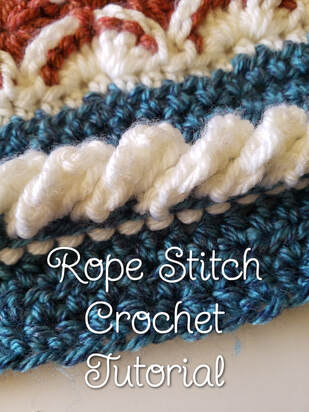  Years and Years ago, when I was around the age of 12, I made myself a blanket that turned into one of my favorites. One of the reasons I loved it so much was because it used this stitch that reminded me of a twisted rope. It was fun to crochet a little texture on a blanket that mostly used a V stitch. I don't remember if the pattern gave this stitch a name (I don't think it did) and I honestly haven't seen this stitch used much since then but it left a lasting impression on my crochet mind. 30+ years later, as I was trying to de-clutter our home, I found that well used blanket stashed away in a safe and I knew it was time to crochet with this stich once more. I remember being slightly confused at first when trying to crochet this stitch because back then, patterns I had were only written instructions. When I decided to use it for my own design, I knew it would be a great time to do a video tutorial for those who learn better from videos than photos. This stitch is used in my Ropes & Wheels Blanket crochet pattern which can be purchased HERE. Now for the fun part! Grab your crochet hook and some yarn, work up a few rows of basic stitches such as single, half double or double crochet to about 12" wide to give you a base to practice the Rope Stich with. **This post contains affiliate links through which I may earn a small commission for purchases made at no extra cost to you**
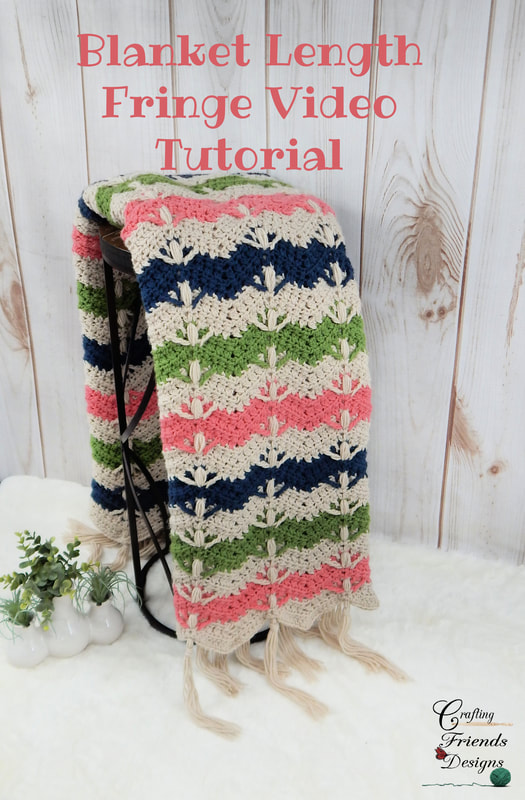 Hug Me Chevron Blanket crochet pattern Most crochet patterns which call for fringe typically just add fringe to the ends of the project. That's how I've designed with fringe in the past but I wanted something different for the Hug Me Chevron Blanket crochet pattern. I thought it would be fun to have a woven or stitch look with the fringe popping in and out of the blanket with a pretty length at the end. My daughter fell in love with this style and it was honestly SO easy to do. You could do it to any pattern that has a decent hole in the stitch work which will allow you to pull the long strand through. The fun part about this is that if you wanted a slightly different look, you could cut the strands longer, work them into a braid and pull the braided yarn through the length of the blanket. How fun could that be in other designs???!!! Continue below for video... I'm so excited to be able to release another new and fun blanket crochet pattern! The Hug Me Chevron Blanket is full of simple texture, color and fringe. This was designed for my cute daughter Tay with a specific request that her blanket needed fringe. I had already designed the Checkmate Heart Throw for her but after she saw the Boho Diamond Blanket finished with fringe, she fell in love and needed something different. No worries!!! I put the Checkmate Heart blanket away to give to someone who would love it later and started a new project just for her. 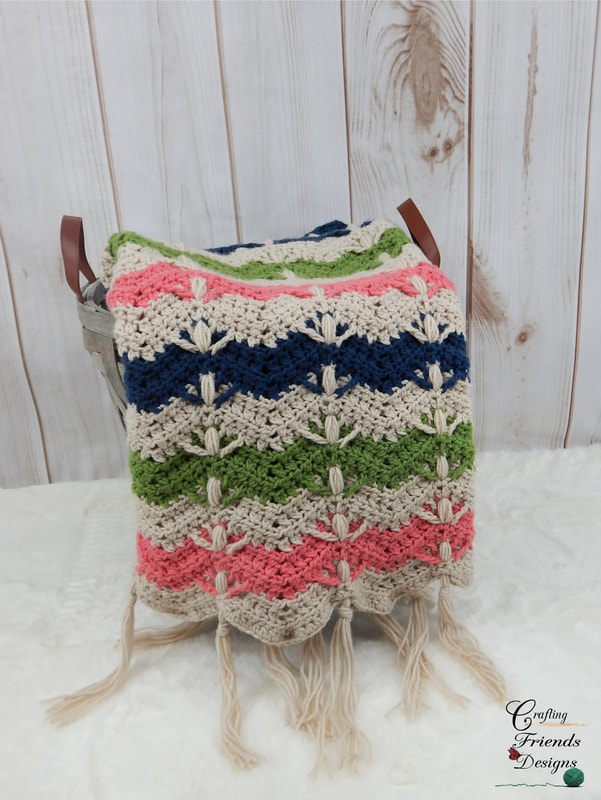 It had to be colorful to match her spunky/fun little personality and I didn't want to just do a basic fringe again. It needed to be unique!
A simple little textured stitch graces the body of the pattern while the fringe is woven in and out of the rows through the length. The little pops of fringe through the post stitches remined me of someone reaching their arms wide to give someone a hug giving this fun new pattern it's name. What do you think? Wrapped in Ribbon Chevron Blanket crochet pattern Well, well, well...
It's time for another new blanket crochet pattern to keep our hooks a hooking! You know how I love texture and I've had a lot of fun creating appliques on blankets that don't have to be sewn in at the end. The Rings of Ribbon Blanket was such a pretty little design that I wanted to use the ribbons in something larger for older girls. The Wrapped in Ribbon Chevron Blanket is still full of fun and texture but not so "Baby-ish" allowing toddlers, children and even teens to snuggle in cuteness! 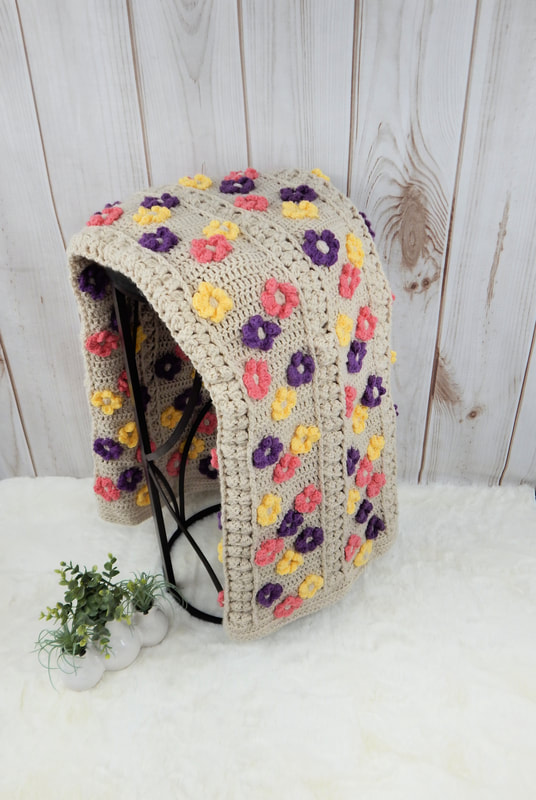 Wild Flower Blanket crochet pattern Introducing the new Wild Flower Blanket crochet pattern I am SO excited to introduce my new Wild Flower Blanket crochet pattern to you! At the age of 16, I began selling the blankets I would make. At the time, I had a goal to make a blanket for every single member of my family. As my siblings started getting married and having kids, this task kept me busy. Blankets are a passion of mine though and I enjoyed every minute of the process and even more when each family member received their gift. It was so fun to see my nieces and nephews snuggle up in their own blanket that I made. As I started designing, a few of them even had a blanket designed specifically with them in mind. My kids outgrew the blankets I made them faster than I wish they would have. I love watching them learn and grow but time goes WAY to fast!!!
With their growth, it was time to start designing my girls new blankets that would be big enough to last them longer. This Wild Flower Blanket was designed for my youngest. She absolutely loves the outdoors. Over the years, she has taught me to appreciate the simple little things in life. One of my other favorite hobbies is gardening. We have a wide variety of beautiful flowers in our yard and I work hard to keep it looking as pretty and enjoyable as possible. When she was younger, she was constantly picking flowers for me. I would kindly take them but it would frustrate me because I also wanted flowers to be left alone to show outside. My hubby got after me one day and reminded me that she's just picking them to show me she loves me - I know, I really do. It was just a battle of hard work and being able to enjoy the full beauty and taking a step back to appreciate her love for the flowers and me too.
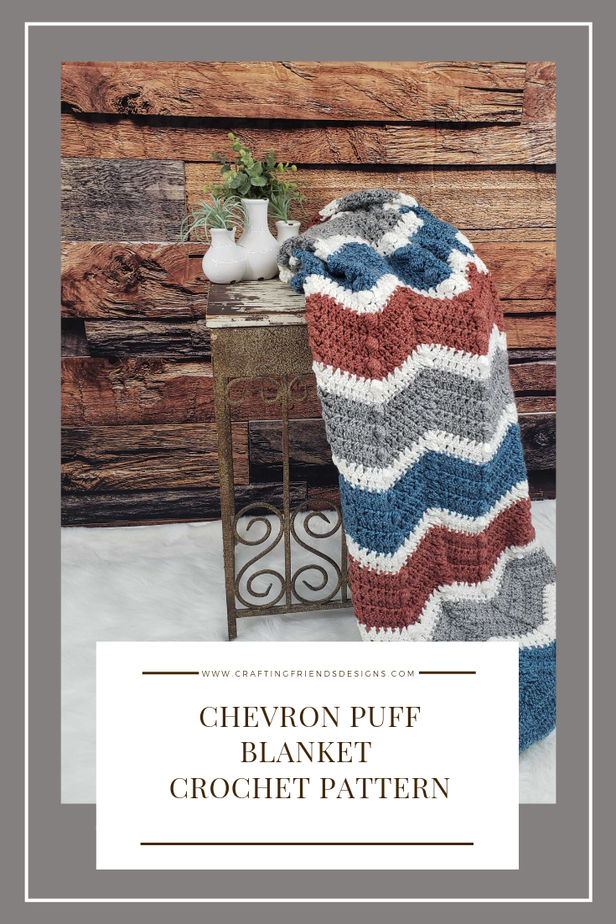
You know how much I LOVE textured crochet stitches and I just can't help but to use texture in all of my recent designs. This Chevron Puff Blanket crochet pattern is no different. However, sometimes it's nice to have a simple repeat of a pattern that you can crochet mindlessly while watching your favorite show. This pattern has just the right touch of texture to make it more than just a simple chevron but enough to catch the eye.
Another GREAT detail about this blanket is that while you have the chevron pattern, the borders are completely straight. I really like the up and down of the chevron but sometimes it's nice to have straight edges to give a cleaner look to your decor.
Continue below for the pattern to crochet your very own or purchase the ad free pdf to enjoy the pattern at your convenience.  Crochet Pattern, Chevron Puff Blanket
It's Crochet Pattern Release time!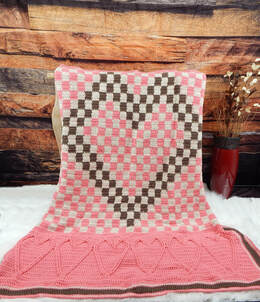 Over the years, I’ve designed blankets specifically for close and extended family and they’ve all been used and loved. This months new release is one I designed for my 3rd daughter. She’s a little farm girl and would move in with my parents if she could just to be on the farm. She loves the cowgirl / country style and I thought this would be perfect for her. Sadly, she didn’t want it because it didn’t have fringe so I started designing a different blanket for her that will be released early next year. Yes, I know I could have added fringe but I loved this one as it was and it all worked out perfectly with a new blanket for her. That's one of the benefits of loving to make blankets! There is always another one waiting to be created and plenty of family and friends and service opportunities to give them to. In the mean time, I’ll set this one aside for another special person. This one is worked bottom up and I chose to work over the strands of yarn on each row so there wouldn't be a ton of ends to weave in at the end (my LEAST favorite part of color changing). Of course, I had to add some texture so the borders were the perfect canvas for that. I've included a chart of the checkered heart at the end of the pattern to help keep track of the rows you're working. It comes in handy! This crochet pattern is an easy to intermedtiate skill level. If' you're familiar with how to crochet post stitches and read patterns, you should be able to work this one. 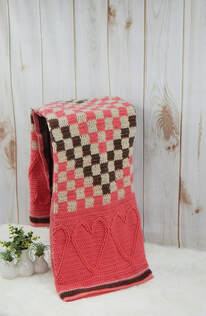 I hope you'll LOVE the Checkmate Heart Throw and can whip one up for someone you care for this month. Be sure to Pin this page and share the link with your crochet friends so they can enjoy it too! It REALLY helps me out when you spread the word about my patterns and I appreciate your help!!! 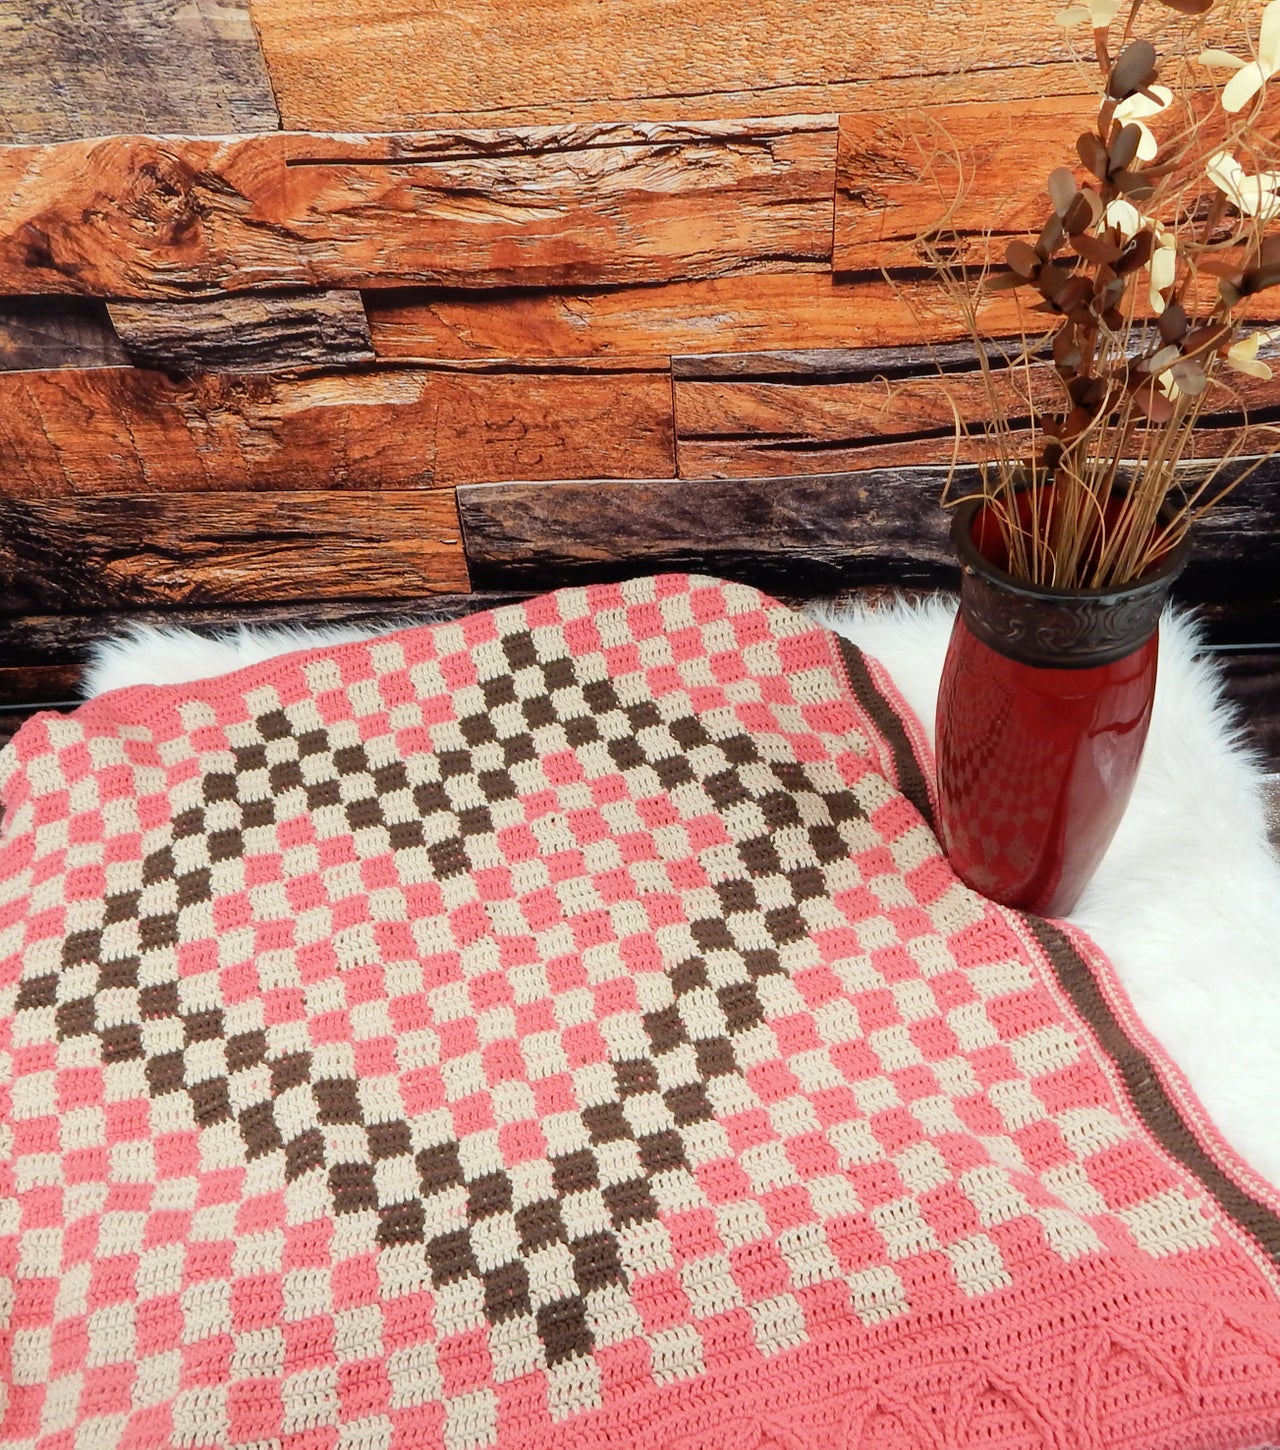 Crochet Pattern - Boho Diamond Textured ThrowSkill Level: Intermediate Terms: US Crochet Terminology Materials: 4ww yarn Pink - 1600 yards Linen - 500 yards Brown - 300 yards Finished Size: 4’x6’ blocked Hook: J/10-6.00mm Gauge: 13 dc & 8 rows = 4” Stitches/Abbreviations: st(s) - stitch(es), sl st - slip stitch, ch - chain, yo - yarn over, sc - single crochet, hdc - half double crochet, dc - double crochet tr - treble crochet dtr - double treble crochet FPtr - Front post treble crochet FPdtr - Front post double treble crochet rsc - reverse single crochet Special Stitches: Foundation Chain: If you’re unfamiliar with how to work foundation chains, these tutorials may help Photo: https://craftingfriendsdesigns.blogspot.com/2015/02/double-crochet-foundation-chain-photo.html Video: https://www.craftingfriendsdesigns.com/bloggingfun/hdc-foundation-chain-video-tutorial (This video shows how to work the sc, hdc and dc foundation chains) FPtr4tog: Front post treble crochet 4 together - [yo 2x, insert hook from front to back to front around indicated st, yo, pull up a loop, yo, pull through 2 loops on hook, yo, pull through 2 loops on hook,]4x, yo, pull through all 5 loops on hook Notes:
For hdc: https://www.craftingfriendsdesigns.com/bloggingfun/video-tutorial-for-the-standing-hdc For others: http://jessieathome.com/crochet-techniques-chainless-row-turns-sc-hdc-dc/
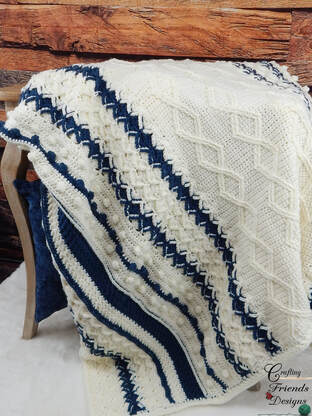
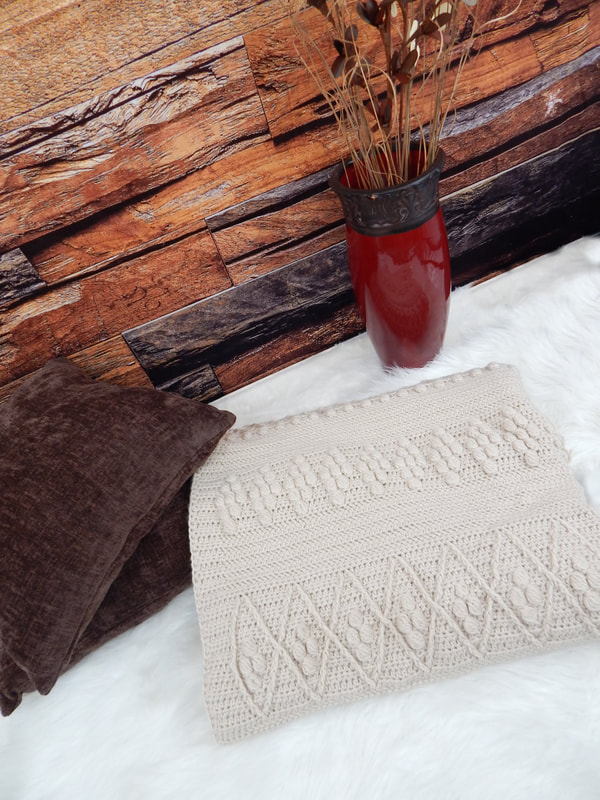
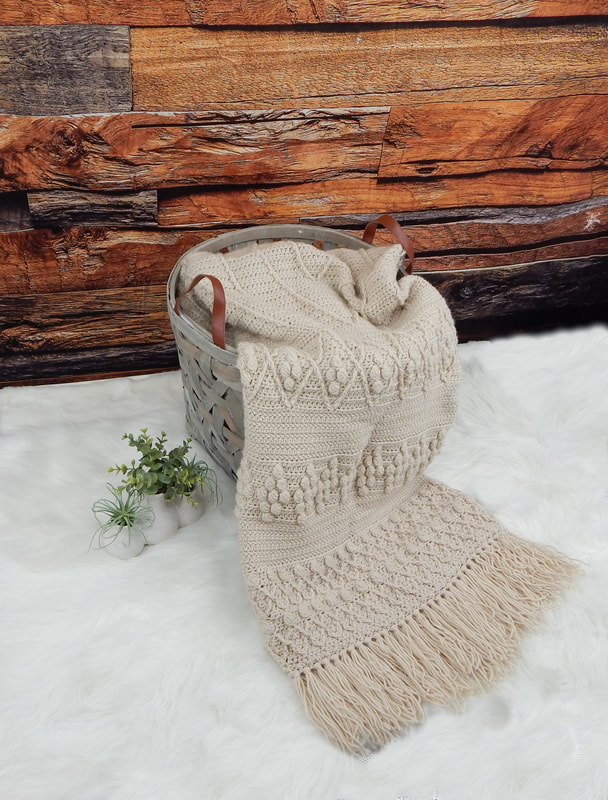
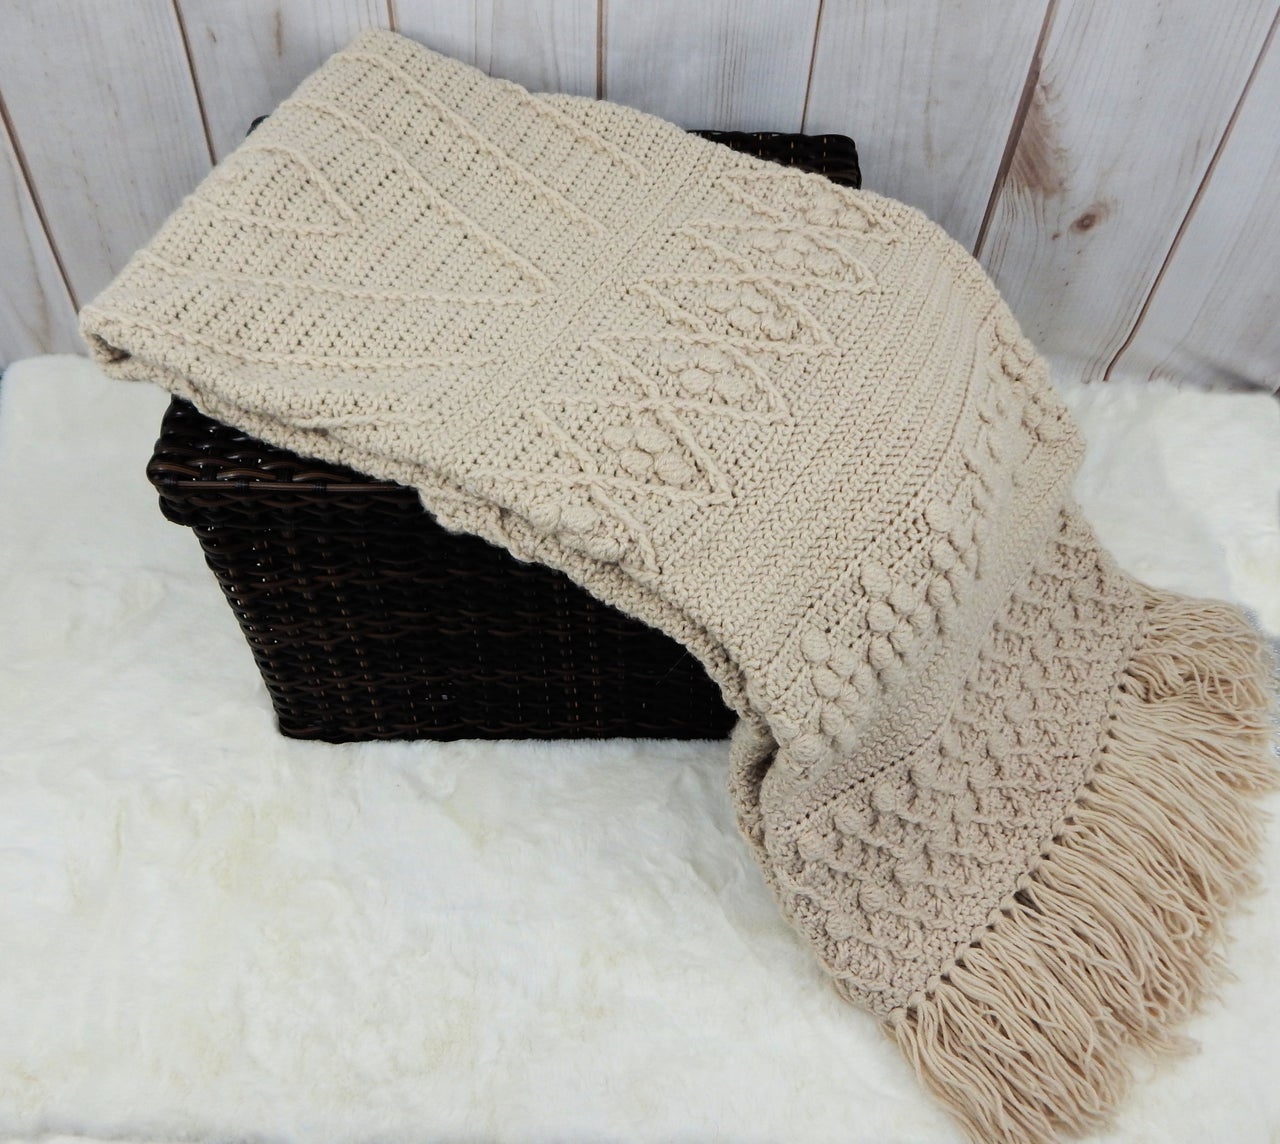
It's GREAT to be back! I've sure missed being active with the crochet community over the past 2 years. When I took an office job in 2019, I knew I would miss everyone but I knew I would not give up on designing. It's not as easy to accomplish everything that needs to be done working full time and taking care of my little family but they are my priority so being able to consistently release new designs had to be placed on the back burner. I still had my crochet time late at night when everyone went to bed so I've been able to design a LOT of new blankets and have them ready to start releasing 1 each month. Now that the big projects are out of the way, I'm hoping to design some smaller projects too. My daughter Brooklynn loves the boho style and asked me to design her a boho blanket. After designing the Royal Christmas Tree Skirt (found HERE), I knew I wanted to use some of the stitches from that to create a blanket. I fell in love with the post stitches connected with puff stitches!  She's waited almost a full year to use this blanket and was Thrilled that I finally handed it off to her. I hope that you will enjoy crocheting this Boho Diamond Textured Throw as much as I did and I know that you'll receive Many, Many compliments!
Pattern DetailsSkill Level: Intermediate
Size: 48” x 80” Materials: 2875 yards main blanket 215 yards for fringe (optional) Hook: Size I- 5.5mm Gauge: 13 hdc & 10 Rows = 4” Stitches: ch – chain, st(s) – stitch(es), yo - yarn over, sl st – slip stitch, sl st – slip stitch, hdc - half double crochet, dc – double crochet, tr - treble crochet Special Stitches: (FPdc) Front Post Double Crochet: Yo, insert hook from front to back to front around indicated stitch, yo, pull up a loop (3 loops on hook), yo, pull through 2 loops, yo, pull through remaining 2 loops (FPtr) Front Post Treble Crochet: yo 2x, insert hook from front to back to front around indicated stitch, yo, pull up a loop, (4 loops on hook), [yo, pull through 2 loops on hook]3x (FPdcHdcTog) Front Post Double Crochet Half Double Crochet Together: Yo, insert hook around post of indicated st from front to back to front, yo, pull up a loop, yo, pull through 2 loops on hook, yo, insert hook in top of indicated stitch, yo, pull up a loop, yo, pull through all 4 loops on hook Note: When working in the top of skipped stitches, work behind the front post just worked (FPtrHdcTog) Front Post Treble Hdc Together: Yo 2x, insert hook around post of indicated st from front to back to front, yo, pull up a loop, [yo, pull through 2 loops on hook]2x, yo, insert hook in top of indicated st, yo, pull up a loop, yo, pull though all 4 loops on hook Note: When working in the top of skipped stitches, work behind the front post just worked Bobble Stitch: [Yo, insert hook around post of indicated stitch, yo, pull up a loop, yo, pull through 2 loops on hook]5x, yo, pull through all 6 loops on hook (hhdc) Herringbone Half Double Crochet: Yo, insert hook in indicated stitch, yo, pull through stitch and first loop on hook, yo, pull through remaining 2 loops on hook Notes:
|
Kate WagstaffHey there! Thank you for joining my blog here at Crafting Friends Designs. Grab your hook, some yarn and get comfy as we crochet some fun, unique and beautiful projects together.  Archives
May 2024
 |


 RSS Feed
Proudly powered by Weebly