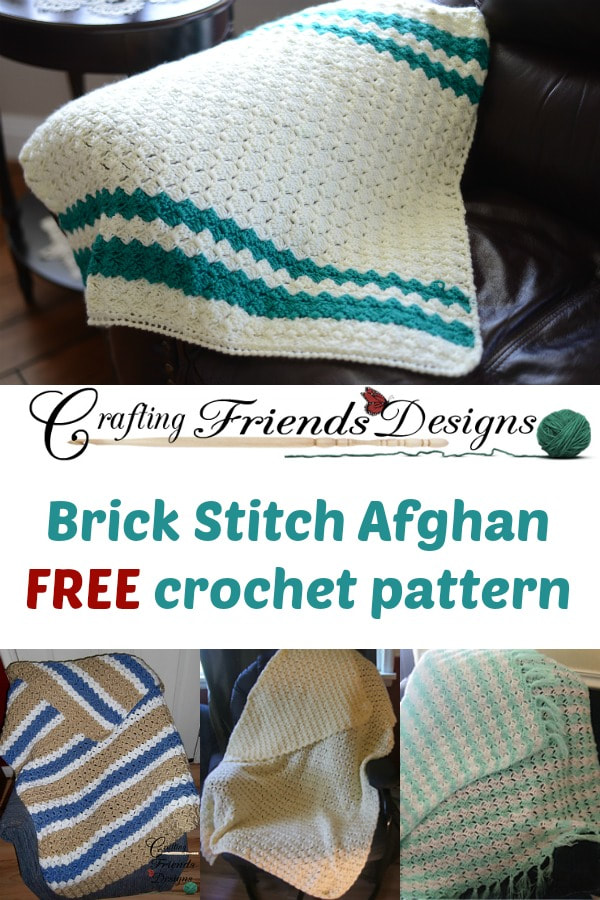
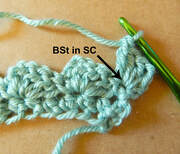
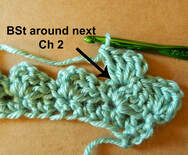
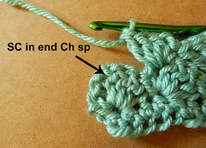
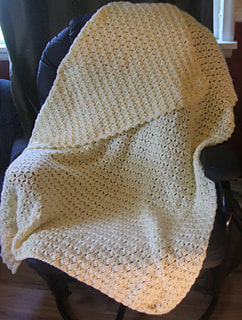
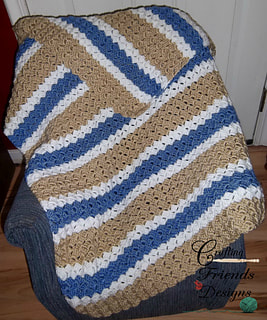
A Quick and Simple Blanket Crochet PatternThe C2C or Corner to Corner blankets are EVERYWERE! The crochet stitch used for this blanket is a fun one to work and is sort of a mindless project stitch. Years and years and years ago (20 or more), I learned this stitch as the Brick Stitch. I've seen it called by other names and I've also seen other stitches called the Brick Stitch. No matter the name you call it, it still works out the same. This blanket is worked from side to side and creates a fun little chevron look when using more than one color. It's easy to work to the size you want which means you're not limited to just a baby blanket or throw size. Make it yours! Have fun with colors and enjoy some crochet time! To view the pattern for free, continue below. To purchase the AD FREE pdf, click HERE or find links to my other shops at the bottom of this post Brick Stitch Blanket InstructionsSkill Level: Easy Terms: US Crochet Terminology Materials: 1575 yards Medium 4ww yarn Finished Size: 3’x3’ or Customizable Hook: I/9-5.50mm Gauge: 6 dc & 3 rows = 2” Stitches/Abbreviations: st(s) - stitch(es), sl st - slip stitch, ch - chain, yo - yarn over, sc - single crochet, dc - double crochet Special Stitches: Hdc Foundation Chain: If you’re unfamiliar with foundation chains, these tutorials may help Photo: http://craftingfriendsdesigns.blogspot.com/2014/12/hdc-chainless-foundation.html Video: Brick Stitch (BSt): (sc, ch 2, 3 dc) in same stitch (see Photo 1) Reverse Single Crochet: Insert hook in previous stitch to the right, yo, pull up a loop, yo, pull through both loops on hook Note: If changing colors, do so in the last step of the last stitch of the row before the color change Row 1: Hdc Foundation Chain in multiples of 3 + 1 to desired width/length (a chain of 73 is about 24” with 1 Brick Stitch = 1”) Row 2: Ch 1, turn, *BSt in next st, skip next 2 sts,* repeat from *to* across to end st, sc in end chain (see Photos 2 & 3) Row 3: Ch 1, turn, BSt in next sc, BSt around ch-2 of each BSt across to end BSt, sc around ch-2 of end BSt (see Photos 4, 5 & 6) Repeat row 3 until you reach your desired length When you reach the height you prefer, complete the following: End 3 Rows:
If you enjoyed working this pattern and would like to purchase the pdf to save for your convenience, you can find it in my other shops here:
0 Comments
Your comment will be posted after it is approved.
Leave a Reply. |
Kate WagstaffHey there! Thank you for joining my blog here at Crafting Friends Designs. Grab your hook, some yarn and get comfy as we crochet some fun, unique and beautiful projects together. Archives
May 2024
|
Proudly powered by Weebly



 RSS Feed


