Get ready for a New Corner to Corner style crochet pattern!
When I was young, my grandma was amazing at crochet and always had something in the works. She crocheted an afghan for all of her grandkids with one exception. Me! You see, I learned to crochet when I was 10 years old and crocheted SO many blankets by the time I was 20. One day I asked my grandma when she was going to make me an afghan and my silly grandma kind of laughed and said I could make my own. She wasn't trying to be mean. I think in her mind, she thought I wouldn't need another blanket because I was making so many. Well, I didn't NEED another blanket but I DID want something she crocheted to always have and hold and love and appreciate because of who she is. While we were standing in her living room, she decided I could have an afghan that she had made for a friend (another silly lady!). This friend wouldn't accept the blanket because it was "to nice and so much work." The blanket was placed across my grandma's couch and I happily accepted it as a keepsake.
Spring ahead a few months to our family reunion. For many years, grandma would crochet an afghan to be raffled off at our family reunions to help cover the cost of food for the next year's party. Wouldn't you know it, I WON another afghan in this raffle!! Woot Woot!!! I now have 2 blankets made by grandma. I was so excited because now I could tuck one away for safe keeping and use the 2nd one to snuggle in. While grandma never submitted any patterns to magazines, she was always tinkering with crochet stitches and coming up with her own creations. The blanket I won in the raffle was worked in a corner to corner style. I asked her for the pattern thinking it would be fun to make another one some day. She giggled and told me there wasn't a pattern because she just made it up as she went. She amazed me! Because of her, I had the courage to test the waters and come up with my own corner to corner style blanket.
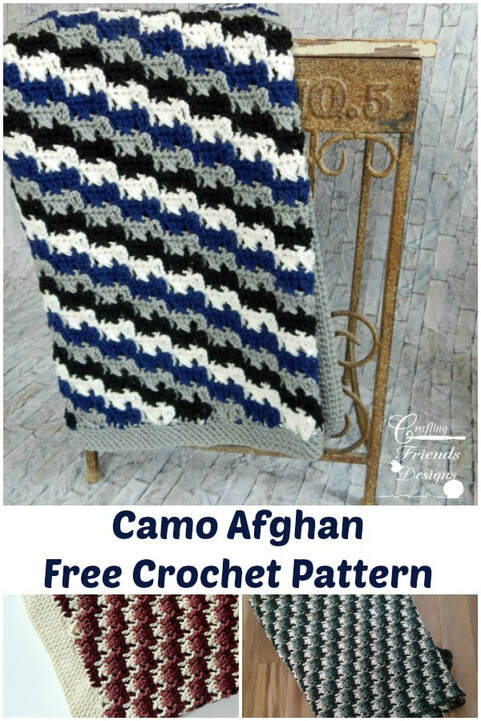
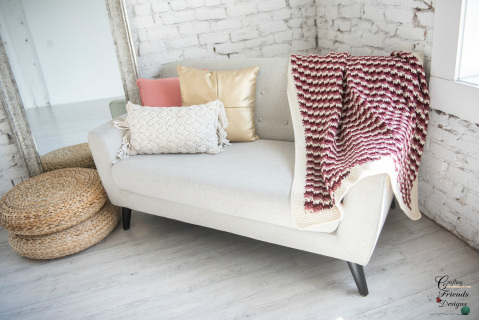
Years later, my sister had a baby boy and named him Hunter. His dad likes to hunt a lot and another sister helped paint a fantastic nature scene on the wall in his nursery. This is when I came up with the Camo Afghan crochet pattern. I wanted to make it in the corner to corner style and also wanted it to seem natural in his room. The camo effect wasn't intentional but worked out well for what I wanted.
The Camo Afghan crochet pattern has 2 different versions.
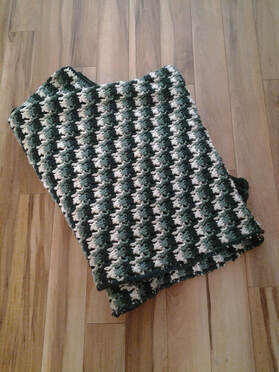
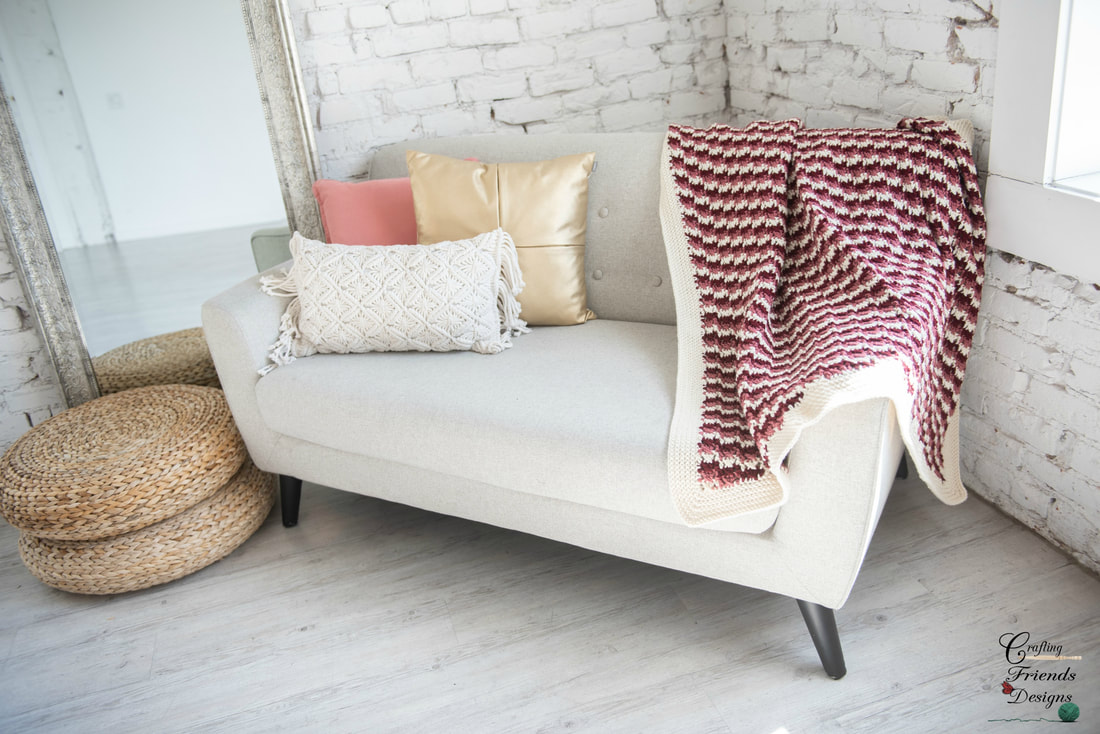
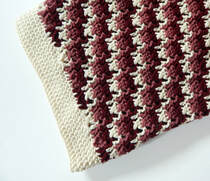
The first (original ~ green or pink) version is worked from right to left and fastened off at the end of each row. Not only is this fun to work in camo colors but would be a PERFECT option for using up scrap yarn stashes, Rainbow colors or temperature blankets! Instructions for the original version are available to view for FREE by continuing below. The 2nd version (blue/black) works the colors in 2 rows allowing you to carry the yarn on the edges of the blanket and not have so many ends to weave in. This version is available in the ad free pdf. The ad free pdf also includes written instructions and a stitch chart for both versions along with a stitch flow chart for Version 2. This is available HERE on my website or continue below for other purchase options. Camo Afghan Version 1 Details
***This post contains Affiliate links through which I may receive a commission for purchases at no extra cost to you***
Skill Level: Easy
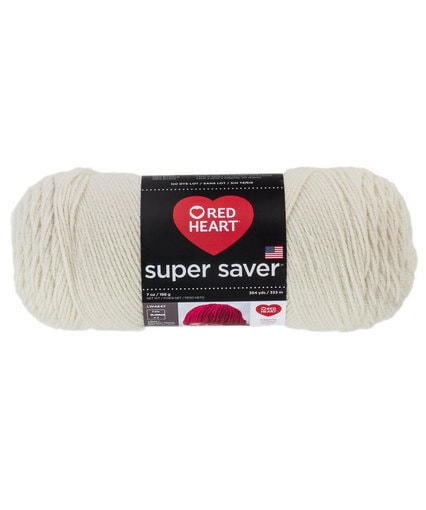
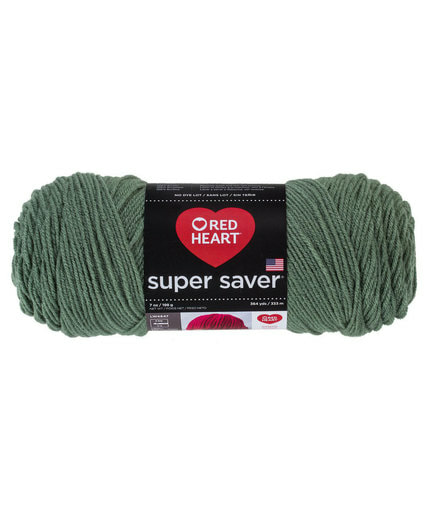
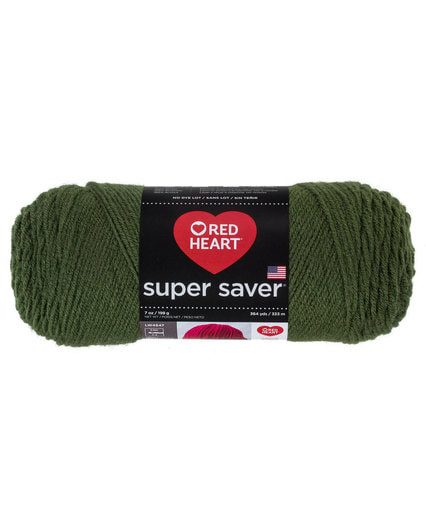
Terms: US Crochet Terminology Materials: Red Heart Super Saver or similar 4ww yarn Original 728 yards Dark Green 728 yards Light Green 728 yards Aran
Finished Size: 53” x 40”
Hook: F/5-3.75mm Gauge: 9 rows & 16 dc = 4” Gauge will not matter if you are customizing to your desired size. The gauges are noted to work to the sizes I’ve given with the amount of yarn noted. Stitches/Abbreviations: st(s) - stitch(es), sl st - slip stitch, ch - chain, yo - yarn over, sc - single crochet, dc - double crochet Special Stitch: Herringbone hdc: Yo, insert hook in indicated stitch, yo and pull loop through stitch and 1 loop on hook, yo, pull through both loops on hook Notes: 1. Change colors every section for the camo effect by rotating colors (lt green, dk green, white, lt green, dk green, white...etc.) 2. There are 2 versions of this pattern. The original (green blanket) is worked corner to corner from left to right and you will fasten off each row. Version 2 (blue/black blanket) has slightly thicker color sections as it works 2 rows of each color. This option allows you to carry yarn along the edge leaving less ends to weave 3. This afghan will need to be blocked
Note: Be sure to leave tails of yarn long enough to weave in when fastening off each section. Save time by weaving in the ends as you work each section instead of saving them all for the end.
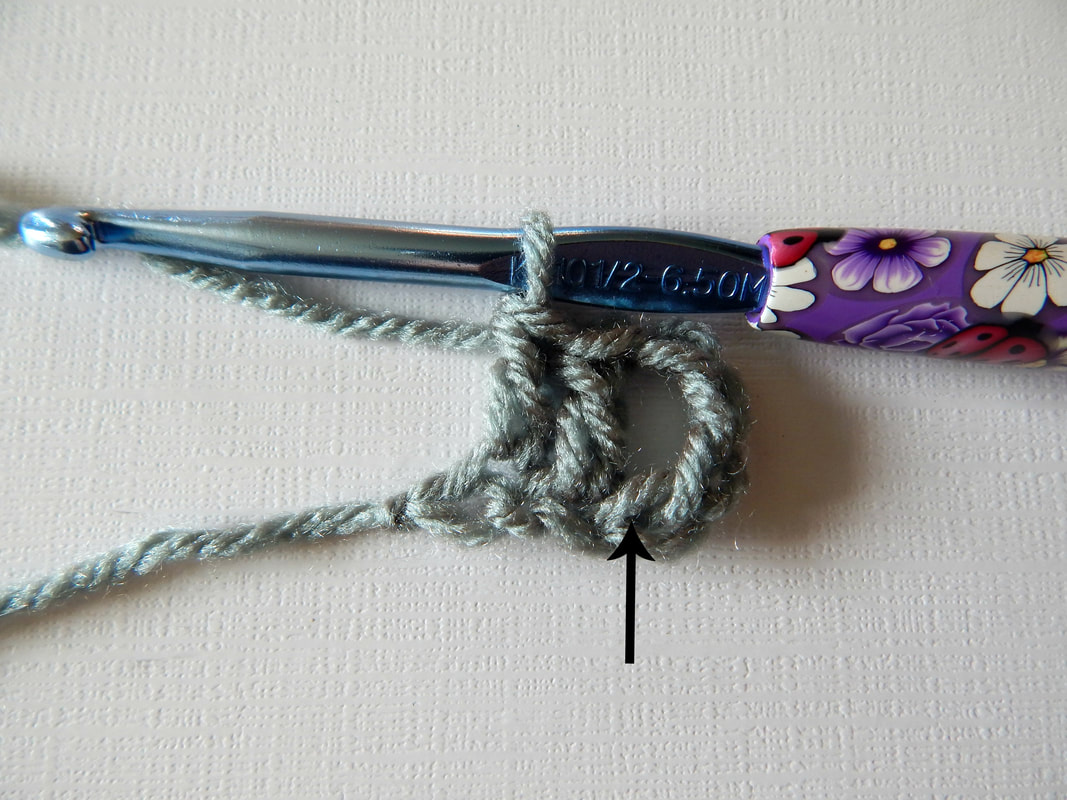
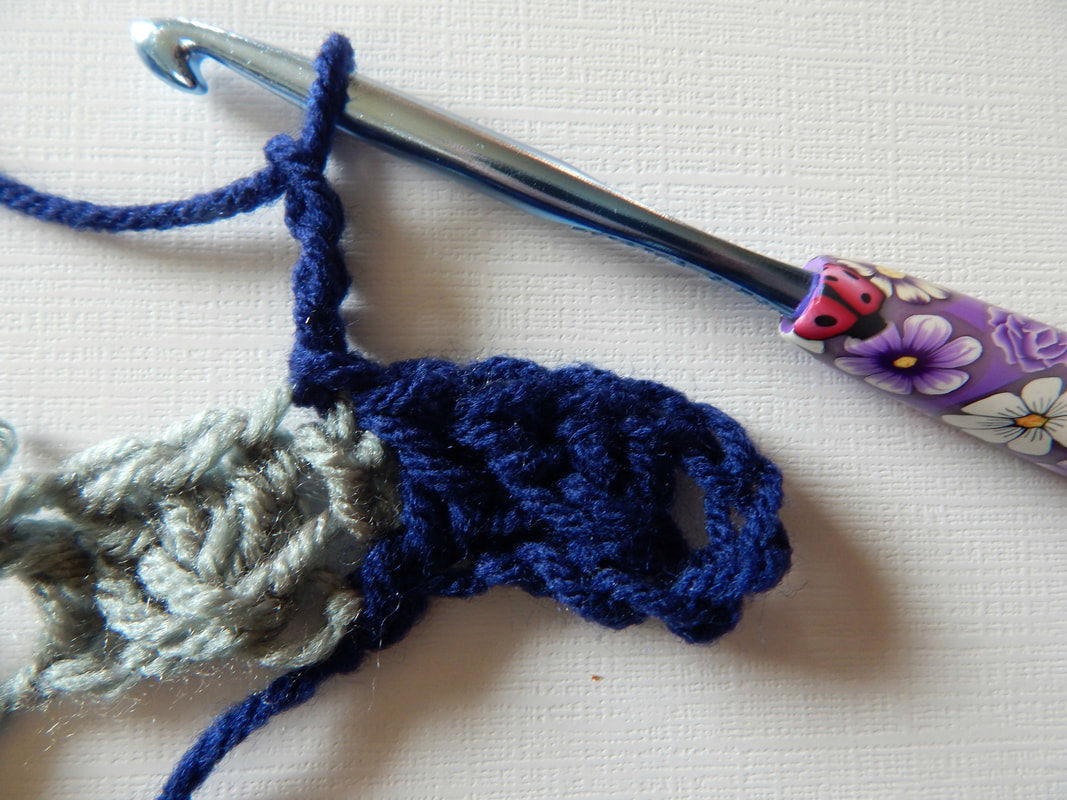
Section 1: *Ch 7, dc in 5th chain from hook, dc in 6th chain space, working in front of dc’s just worked, dc back in 4th chain space (see P1), dc in 7th chain space (see P2),* fasten off
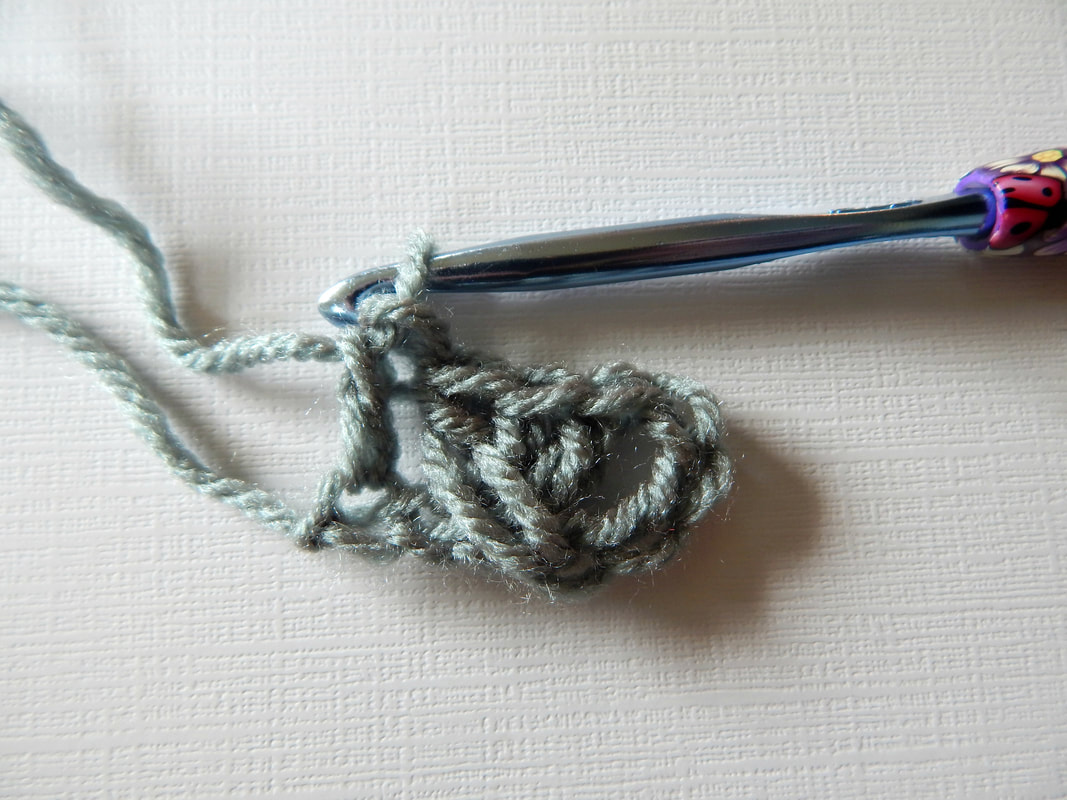
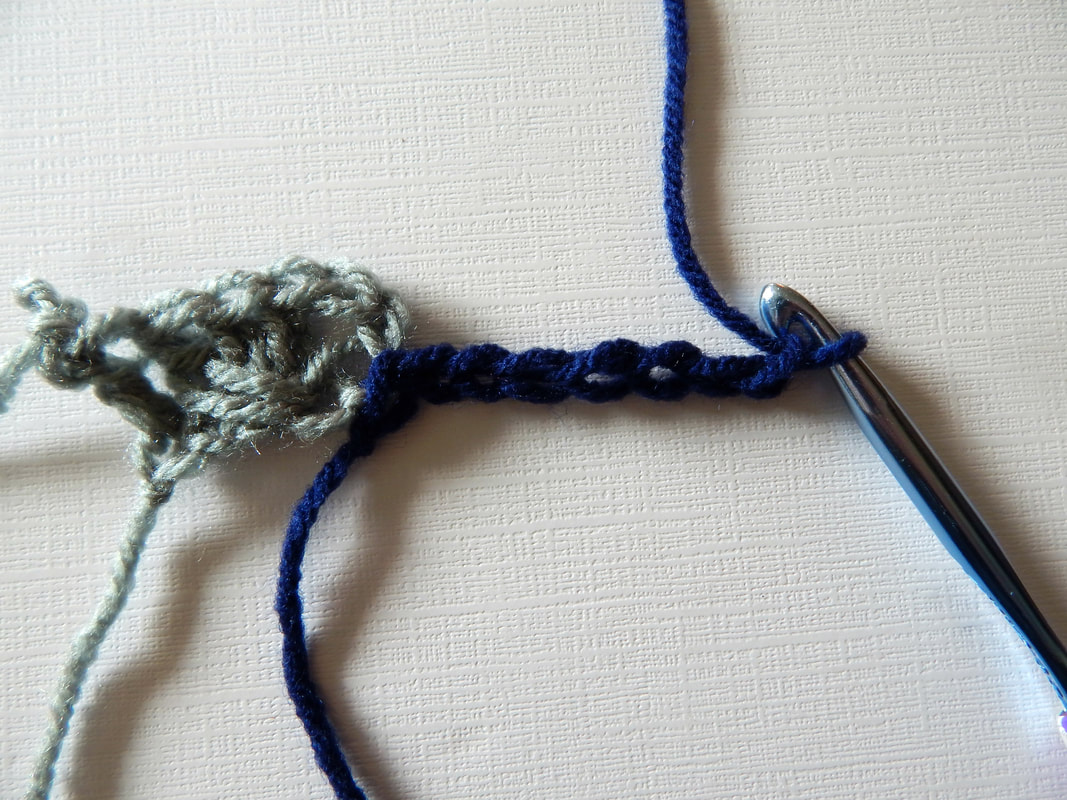
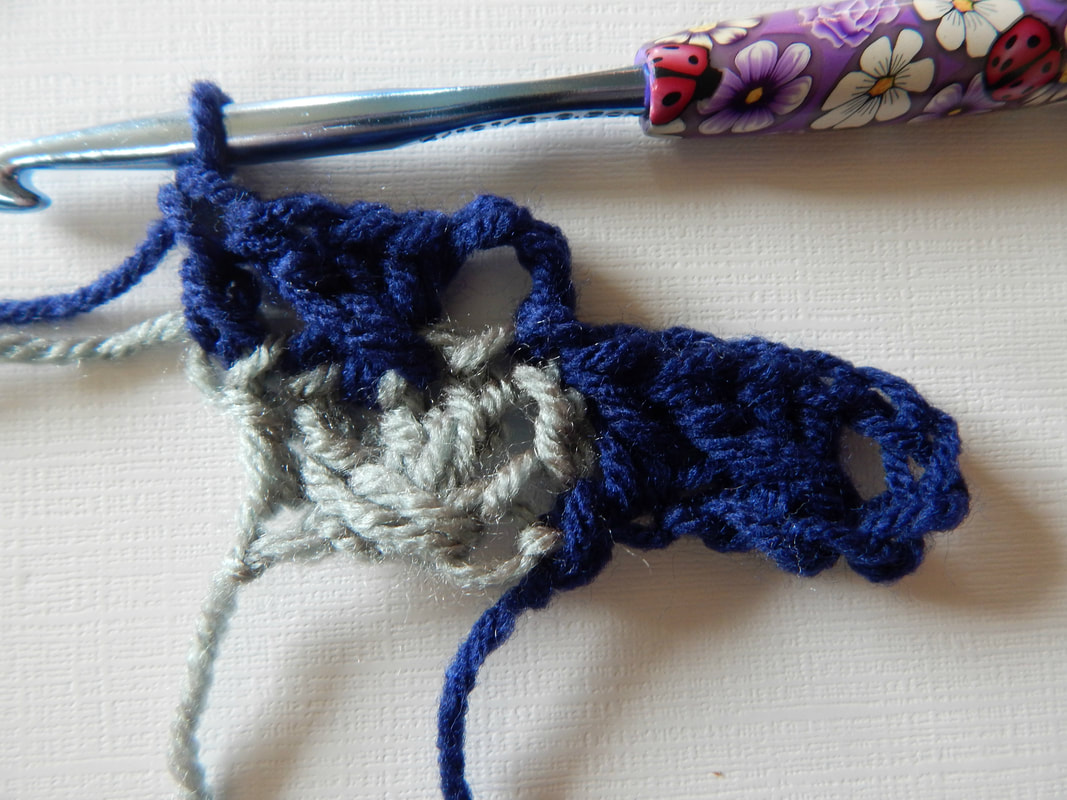
Section 2: Sl st to bottom of ch-3 of previous section (see P3), repeat from *to* of section 1, sl st to top of ch-3 of previous section (see P4), ch 3, skip next st (1st dc), dc in next 2 sts (2nd & 3rd dc’s), working in front of dc’s just worked, dc back in skipped st (1st dc), dc in next available st (4th dc) (see P5), fasten off
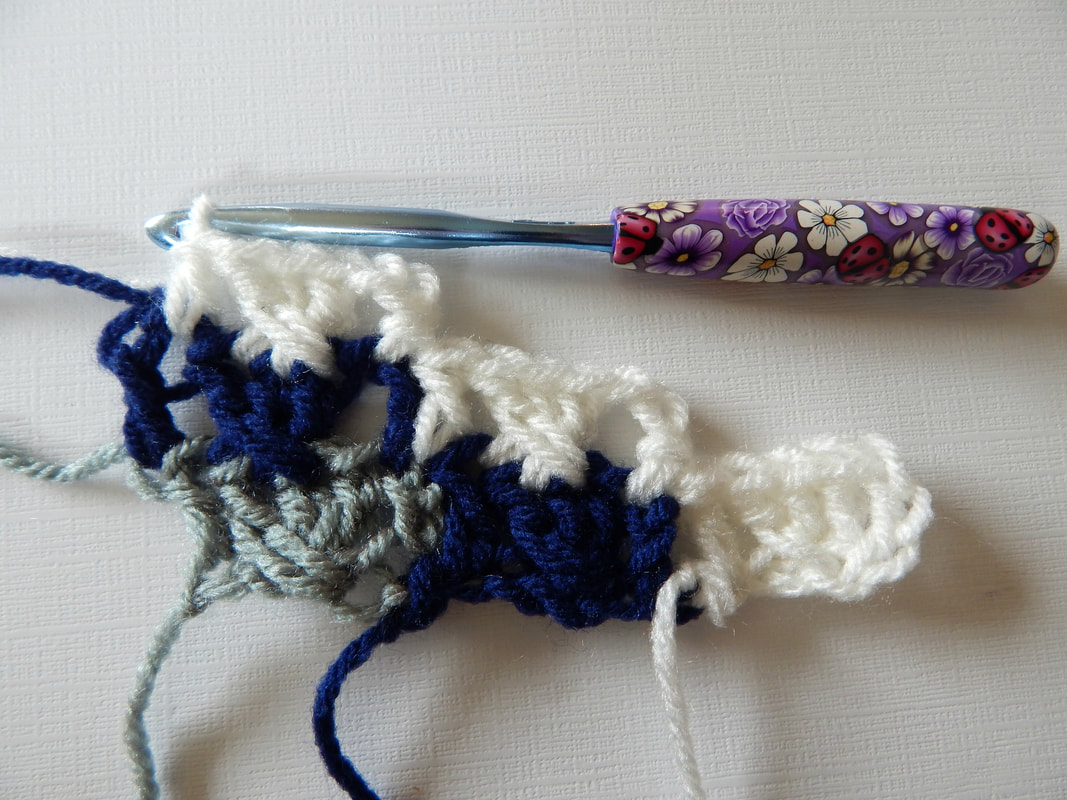
Sections 3-28: Repeat section 2 continually building the width and height, (see P6) fasten off Section 3 will have 3 levels, section 4 will have 4 levels and so on
Sections 29-88: These sections will no longer add width but will build height Beginning with the bottom right section, *sl st to top of ch-3, ch 3, skip next st (1st dc), dc in next 2 sts (2nd & 3rd dc’s), working in front of dc’s just worked, dc back in skipped st (1st dc), dc in next available st (4th dc),* repeat from *to* to top left edge, ch 1, fasten off
Sections 89-114: These sections will even out the width and height Beginning with the bottom right section, *sl st to top of ch-3, ch 3, skip next st (1st dc), dc in next 2 sts (2nd & 3rd dc’s), working in front of dc’s just worked, dc back in skipped st (1st dc), dc in next available st (4th dc),* repeat from *to* to top left section ending even with the top left corner section with a sl st instead of building on top of it
Section 115: Beginning with the bottom right section, sl st to top of ch-3, ch 3, skip next st (1st dc), dc in next 2 sts (2nd & 3rd dc’s), working in front of dc’s just worked, dc back in skipped st (1st dc), dc in next available st (4th dc), sl st to top of ch-3 of next section
Fasten off and weave in all ends Continue to border section Border instructions
With right side facing, attach yarn to top right corner stitch with a sl st
Round 1: Ch 1, 2 Herringbone hdc in same st, Herringbone hdc in each st across to next corner, *3 Herringbone hdc in corner st, rotate to work next side of afghan, Herringbone hdc evenly to next corner,* repeat from *to* 3x, Herringbone hdc in same beginning corner st, sl st to beginning st to connect Continue working rounds of Herringbone hdc in each stitch with 3 Herringbone hdc in each corner stitch to desired border width, sl st to join, fasten off and weave in ends Ad Free PDF available here:Camo Afghan Crochet Pattern
0 Comments
Your comment will be posted after it is approved.
Leave a Reply. |
Kate WagstaffHey there! Thank you for joining my blog here at Crafting Friends Designs. Grab your hook, some yarn and get comfy as we crochet some fun, unique and beautiful projects together. Archives
May 2024
|
Proudly powered by Weebly

 RSS Feed


